
Auxiliary Starting Battery Installation - Gemini 105
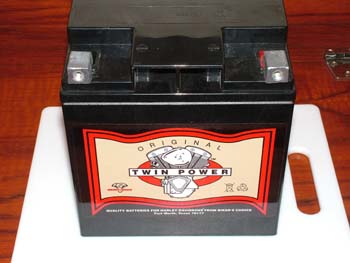
| Now that we are cruising, I wanted to add more battery capacity to my house bank. I had installed AGM batteries for the boat, 2 house in parallel and 1 for starting. My system also includes a battery charger which only puts out a total of 15 amps. Ten amps for the house and five for the starting battery. While I would like to also install a bigger charger, that just means more money out of the cruising kitty. So, this is what I decided to do. A friend owns a business called Great Plains Aircraft and he and I had been talking about gel cell batteries for airplanes. He decided to start carrying them and I then talked him into ordering me a 400 cranking amp 30 amp hour gel cell battery for the boat. It is small and I mean less than half the size of the existing batteries. Next I decided I didn't want to up it under the port berth so I found a space right next to the batteries where this battery would fit. Especially since it has no acid, then it can be covered up. Also, I will probably never use it so it simply has to be charged on a regular basis but not every time I charge batteries. With all of this in mind, this is what I did. The picture to the right is the storage area next to the nav station with access to the batteries. It is next to the battery selector switch. |  |
 |
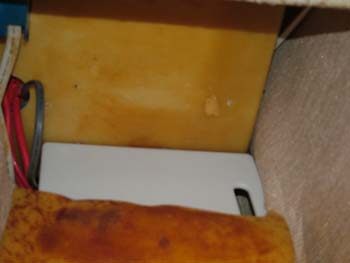
To span the hole the carpet covered, I was originally going to get a 3/8ths piece of plywood. However, I then thought a better idea would be a small cutting board. I found this one was 8 1/2" x 11" and you can see below it fits great. In addition, it has the access hole already in it which allows me a way to run the negative cable to the common ground. |
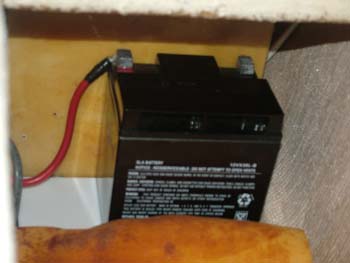
To the right, you see the battery sitting on the cutting board. Below left the cutting board is installed. It also sits on the screws that mount the battery charger. It is really jammed in here because the carpet is glued down in the storage area. I considered putting in a L bracket and bolting it to the wall but I don't think it was necessary. I guess we will see. Bottom right you can see the battery installed and positive cable running to the selector switch. I used a 12 inch cable for positive and 18 inch for negative. |
 |
 |
 |
 |
You can see to the left I also used the spot light that I never use but want to keep on board to hold this in place rather than installing a bunch of straps. You have to know that I also carry lots of covers I've sewn in this storage area so they keep everything in place too. Now a bit about how I wired it. I took off the terminal from the battery selector switch which came from the old starting battery and put it on the same terminal for our house battery. This effectively put the three batteries in parallel and it also put the two sides of the battery charger on only the house bank. Now it charges automatically at 15 amps. (I've checked and it works properly.) The positive lead from the new starting battery now connects to the terminal representing the number 1 position. All works as planned and the new battery starts the Westerbeke just fine. I only plan to use it for an emergency so I think the project is a success. |
Web Page by Jim Faughn