
Water Valve Modification - Gemini 105 - Jim Faughn
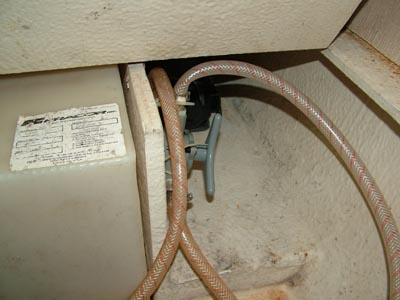
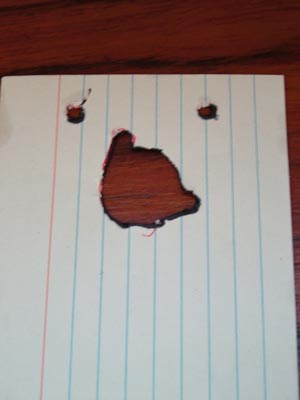
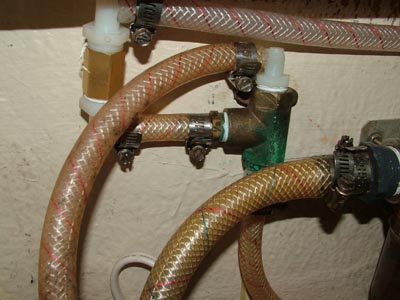
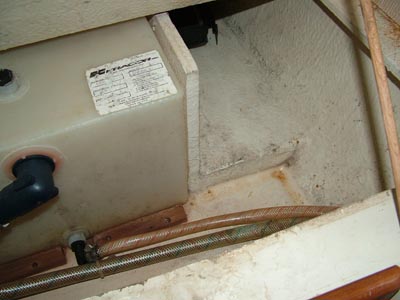
The picture to the right is the way the three way water valve for the water tanks was installed on our 1996 Gemini 105, hull number 536. I've put up with it and just simply never thought it through what else I would like to do with it. In addition, I had added another 3-way valve in line for use in winterization. I've seen the way the factory mounts the valve today and it is nice, however, it also takes up a space that we have as storage so I didn't want to duplicate their system. Fast forward to today. Here I was under the bunk sorting something out and I ran across that brass 3-way valve and thought, why don't I just tear everything out and mount this valve on the bulkhead so Deb can change water tanks too? Then I thought, why didn't I do this six years ago? Step one was to make a crude template for the valve body portion that needed to come through the bulkhead. I drew this on the bulk head as close to the upper corner I thought possible and then used a drill to make the initial holes. Next I used my dremel tool to finish the cuts so the valve body portion for the handle is in the correct, and locked position in the bulkhead. |
 |
 |
 |
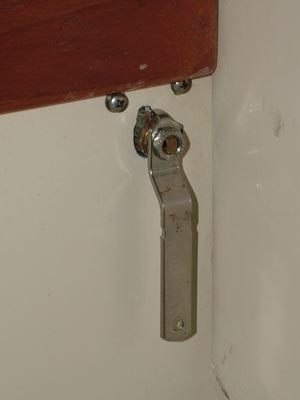 |
Next, I installed the handle and began working on the water lines. I called Deb and she was happy because she could turn it easily and it didn't look objectionable out in the open. I removed a yellow rubber coating on the handle because she didn't like the yellow and now we will clean up the handle so it will be "pretty." |
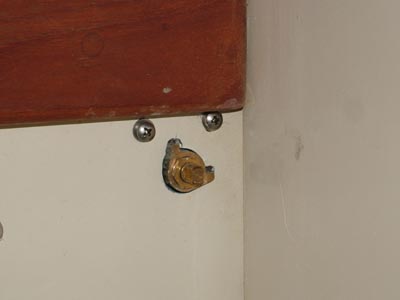
This is a valve I've had for awhile and it was laying at the bottom of the storage so that explains the green on it from some salt water that came from me cleaning the A/C raw water strainer. You can see there is a 90 degree fitting on the top which is for the port tank and I have a straight fitting on the bottom which accepts the starboard tank water. The horizontal outlet had to be turned 180 degrees and I had to use the fittings that I could acquire here. It turned out fine and more importantly, it all worked. When I was done tightening all the clamps and pleased with the result, I then added some bleach to the port tank, which was almost out of water, switched to that tank and pumped some of the bleach solution into the lines I just got finished working on. I let that sit for about an hour and then pumped out all the water in the port tank, flushed out the bleach and declared the project finished. |
 |
 |
Much cleaner result. This also allows for much easier access to our junk we keep down here. |
Web Page by Jim Faughn