The Lost Wax Process - Observed at Johnston Studios Foundry
For the most part, Mike and Kim on Mile Marker provided the text and some of the photographs for this description. I (Jim) then updated some of it in a follow-up special tour in 2016. They no longer give organized tours.
The important search terms to find this are Pete's Pub, Johnston Studios, Pete's Gallery, Lost Wax Process, Little Harbour, and of course creative artists.
Pete's Pub and Gallery - and Foundry
Pete Johnston, Sculptor & Owner
Richard Appaldo, Director
Greg Johnston, Artist
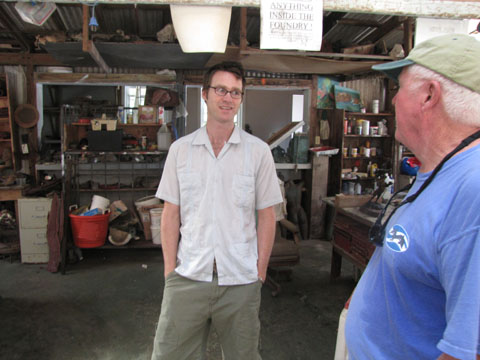
Meet Pete Johnston who is the owner of Pete's Pub, Gallery, and the Johnston Foundry. Over the years we have been able to interact with Pete several times and I must say he is always very nice. During our interaction in 2016 we also met Richard who is the Director at the Foundry. We were very blessed to see an actual pour in 2016 of which we have modified this description with those pictures and information.
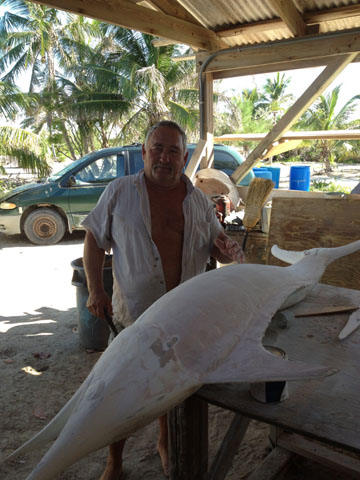
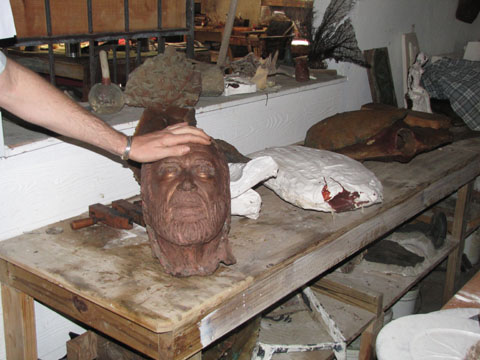
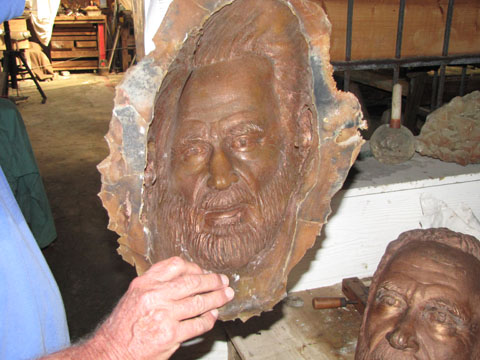
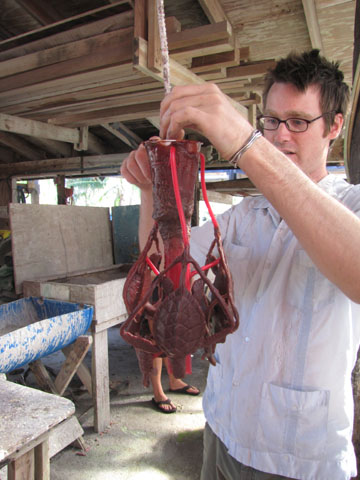
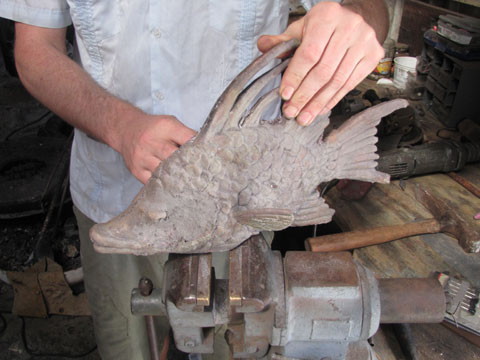
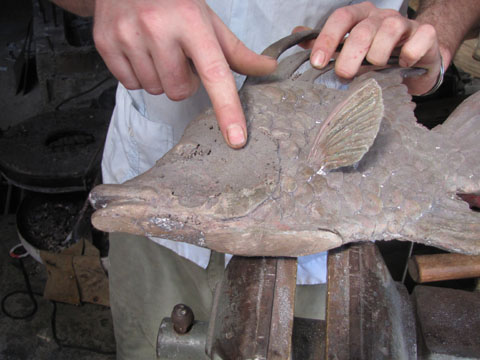
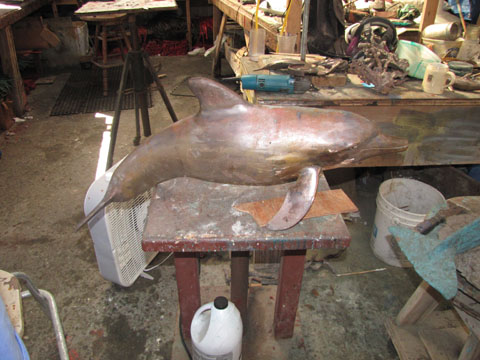
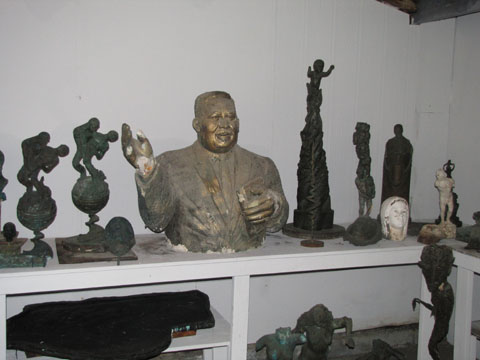
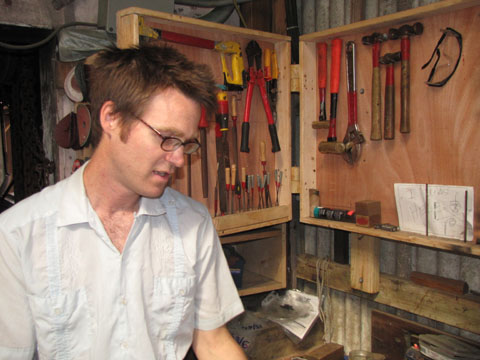
The artist begins with a concept. From that concept they create an original piece of artwork. This piece is called a plug. If the ordinal artwork is flawed, then the piece is flawed. They are not able to take casts of animals but many times if they find a dead animal which hasn't been destroyed they are able to make sketches or even take prints from the animal to retain the exact proportions which then have to be created. In the picture to the right you can see Pete at work on a new plug.
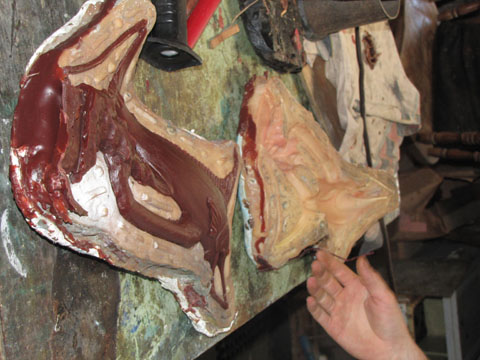
Once the plug is created then the artists’ job becomes more mechanical. A rubber mold is used to create an exact negative.
The rubber mold will need to be adapted to include “plumbing” which is called "gates" to allow the molten metal to fill the entire art piece and allow the air to escape.
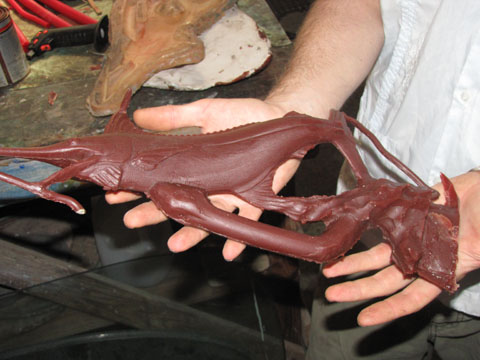
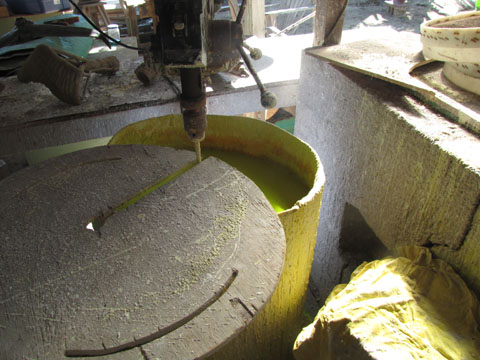
Molten wax is poured into the rubber cast. The rubber structure is removed after the wax has been allowed to cool which ultimately creates the new plug to which a mold is then created again which will stand the temperature of the molten bronze. (The bronze is heated to around 2,500 degrees F.
Additional wax tubes
(gates) may be added at this time allowing the molten metal to freely
flow into deep recesses. The wax may also need to be touched up now that
it is hard.
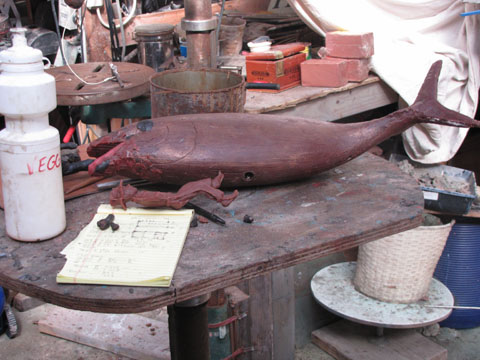
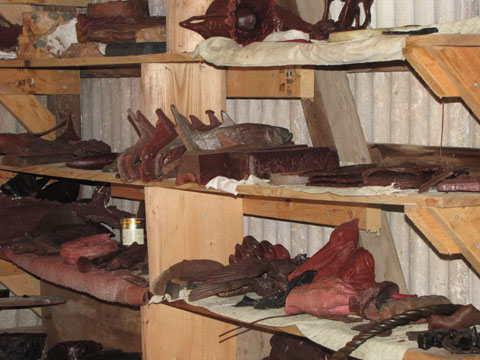
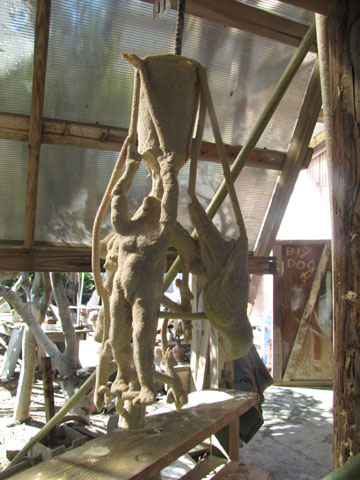
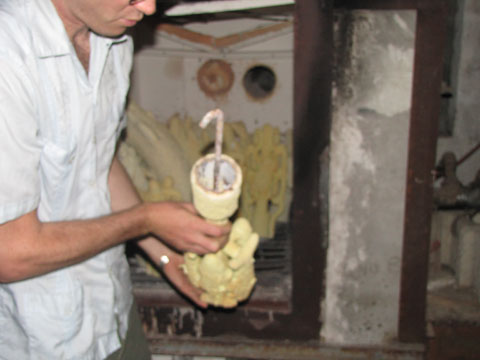
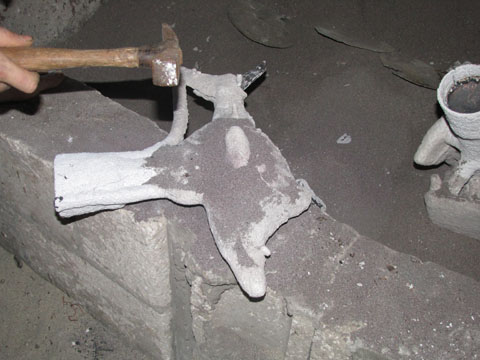
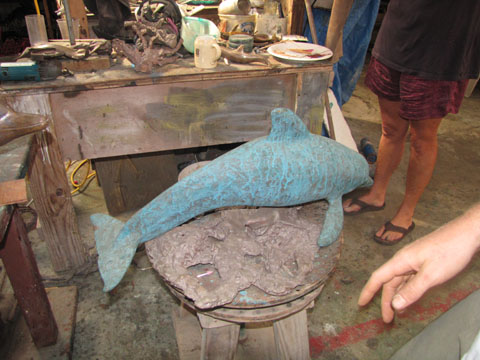
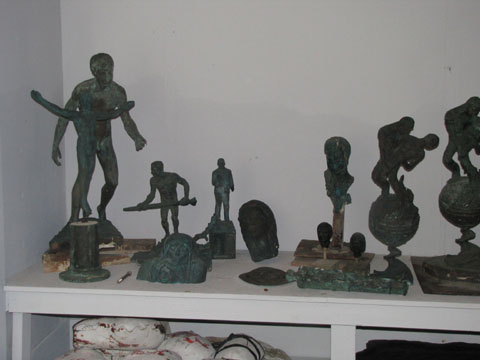
To the left is a wax plug with all of the additional gates installed ready for the next process.
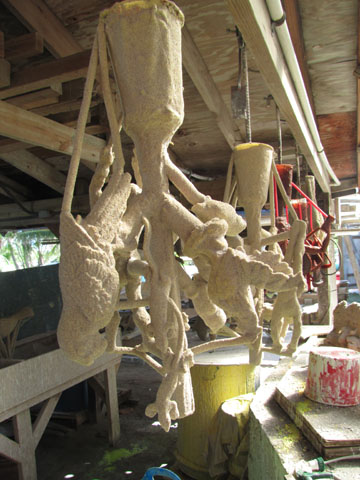
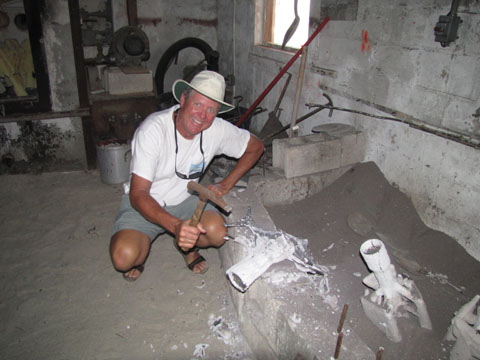
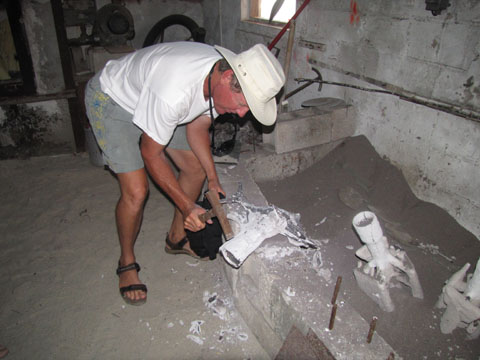
Below - Next the wax is covered with slip (a wet clay). After dipping the wax into the slip coating of sand is added and the process is continued multiple times until a thick shell covers the wax.
It is important to
allow the wet clay to dry completely.
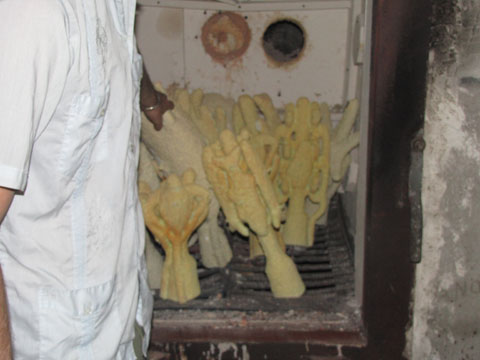

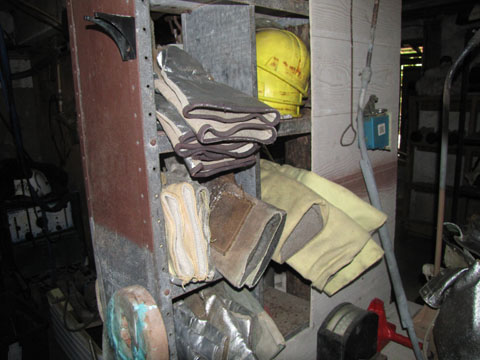
Working with an extremely hot kiln requires the proper safety equipment.
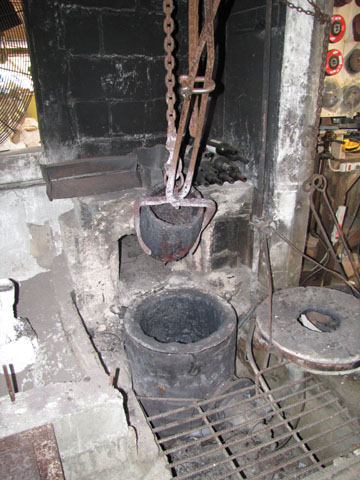
This kiln is fired with propane. However, the flame that melts the bronze is fired with diesel fed by gravity along with use of a blower to attain the temperature necessary.
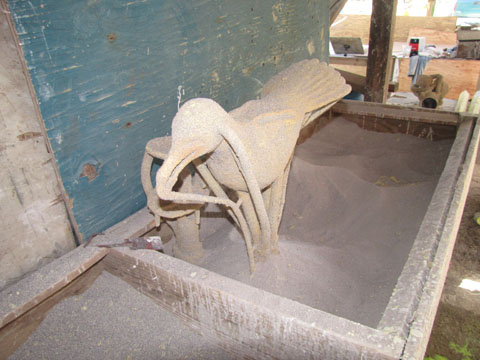
The casting is heated then imbedded into hot sand. Next a mixture of metals, typically the mixture of bronze, can be poured into this final cast. Some of the reasons for imbedding the mold in the sand is to support the cast and minimize the effects of a “blow out”.
We will provide pictures of the process first from the tour of 2012 and then update it with actual pictures of a pour in process in 2016.

.jpg)
.jpg)
.jpg)
.jpg)
Anytime you melt metal to work within a casting or mold, you want the metal to be pure. One step is to ensure the metal is hot enough and another step is to remove the "slag" that floats to the top. These impurities have to be removed as much as possible.
This process involves several steps. The first is simply placing a steel cup (on a long handle) into the molten metal and skimming the impurities off of the top.
.jpg)
.jpg)
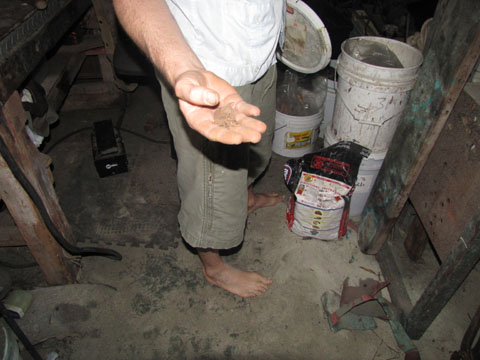
Once you think you have all of the impurities out, it is time for the next step with is to introduce glass to the mixture and allow the glass to melt attracting the rest of the impurities. Once the glass is melted or at least in a slurry, then you take it out along with, hopefully, the last of the impurities.
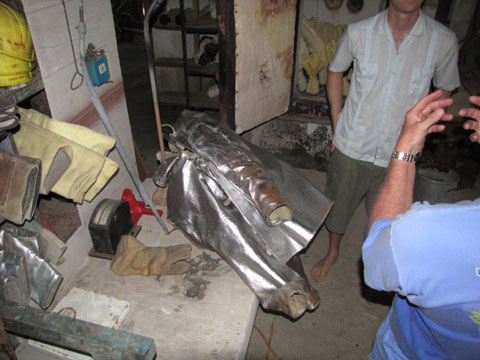
Once this process if finished. A second person, in this case Richard, suits up to assist with the pouring of the bronze.
.jpg)
.jpg)
.jpg)
.jpg)
Step one is to place the molds into the sand, again to support them and also to protect the workers in case of a blowout.
The metal pieces at the top are to keep any dirt or anything else out of the mold.
.jpg)
.jpg)
A final check to ensure the impurities are all gone then the pouring procedure begins.
This is hot to say the least.
.jpg)
.jpg)
.jpg)
.jpg)
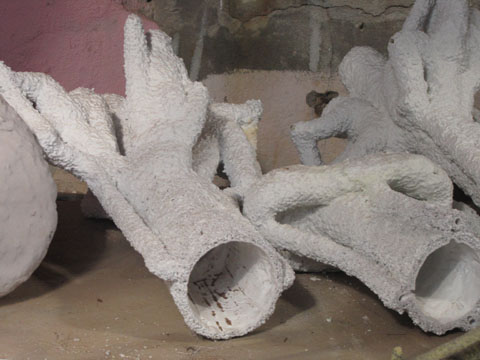
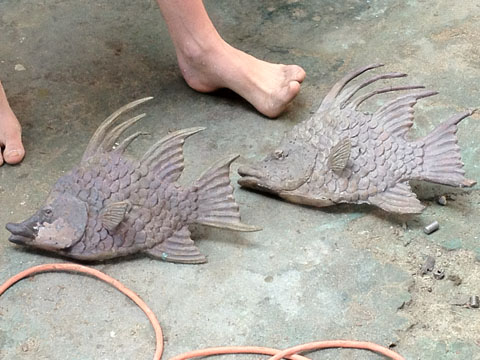
They don't all come out perfect. This one has some shrinkage which will have to be welded up.
Below you can see two other examples where the one on the left has shrinkage which was welded up and needs to be "carved." The one on the right came out just fine.

We hope we've captured this and are both sure you would really enjoy the tour if you ever get to Little Harbour and visit the Johnston Studio and Foundry.
We appreciate Bret Ingot's and Richard's patience while we "fired" a thousand questions their way. He answered them all and had a great attitude taking us through the foundry.
.jpg)
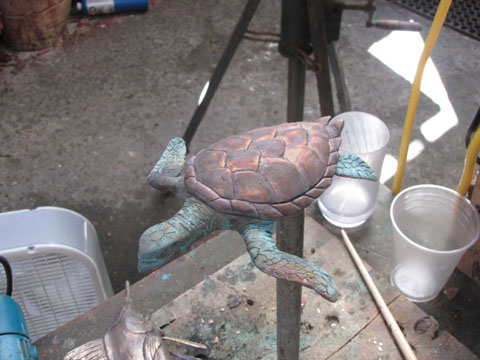
In the 2016 tour Pete came by to say Hi and I was able to get his picture again with a sea turtle.
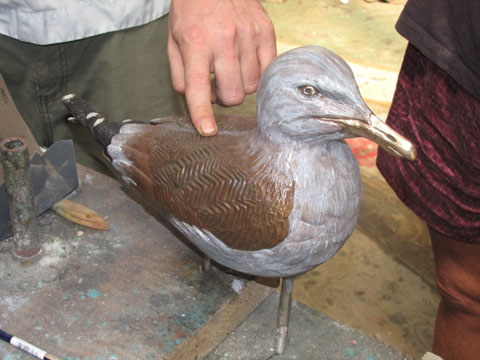
I also had taken a number of pictures of Richard but didn't use them all because many were duplicates of the process. He did give very good explanations of the entire process including the intricacies of the multiple castings that were necessary to create the work of art you see below.
.jpg)
.jpg)
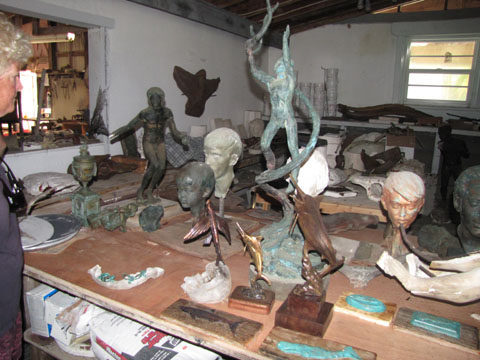
It is easy to see why such works of art cost so much. The time to create the original art, the molds, plugs, and more molds, pouring, chipping, fixing, finishing, etc, etc.
If you are truly looking for an individual work of art, you don't have to go much further than Johnston's Gallery.
.jpg)